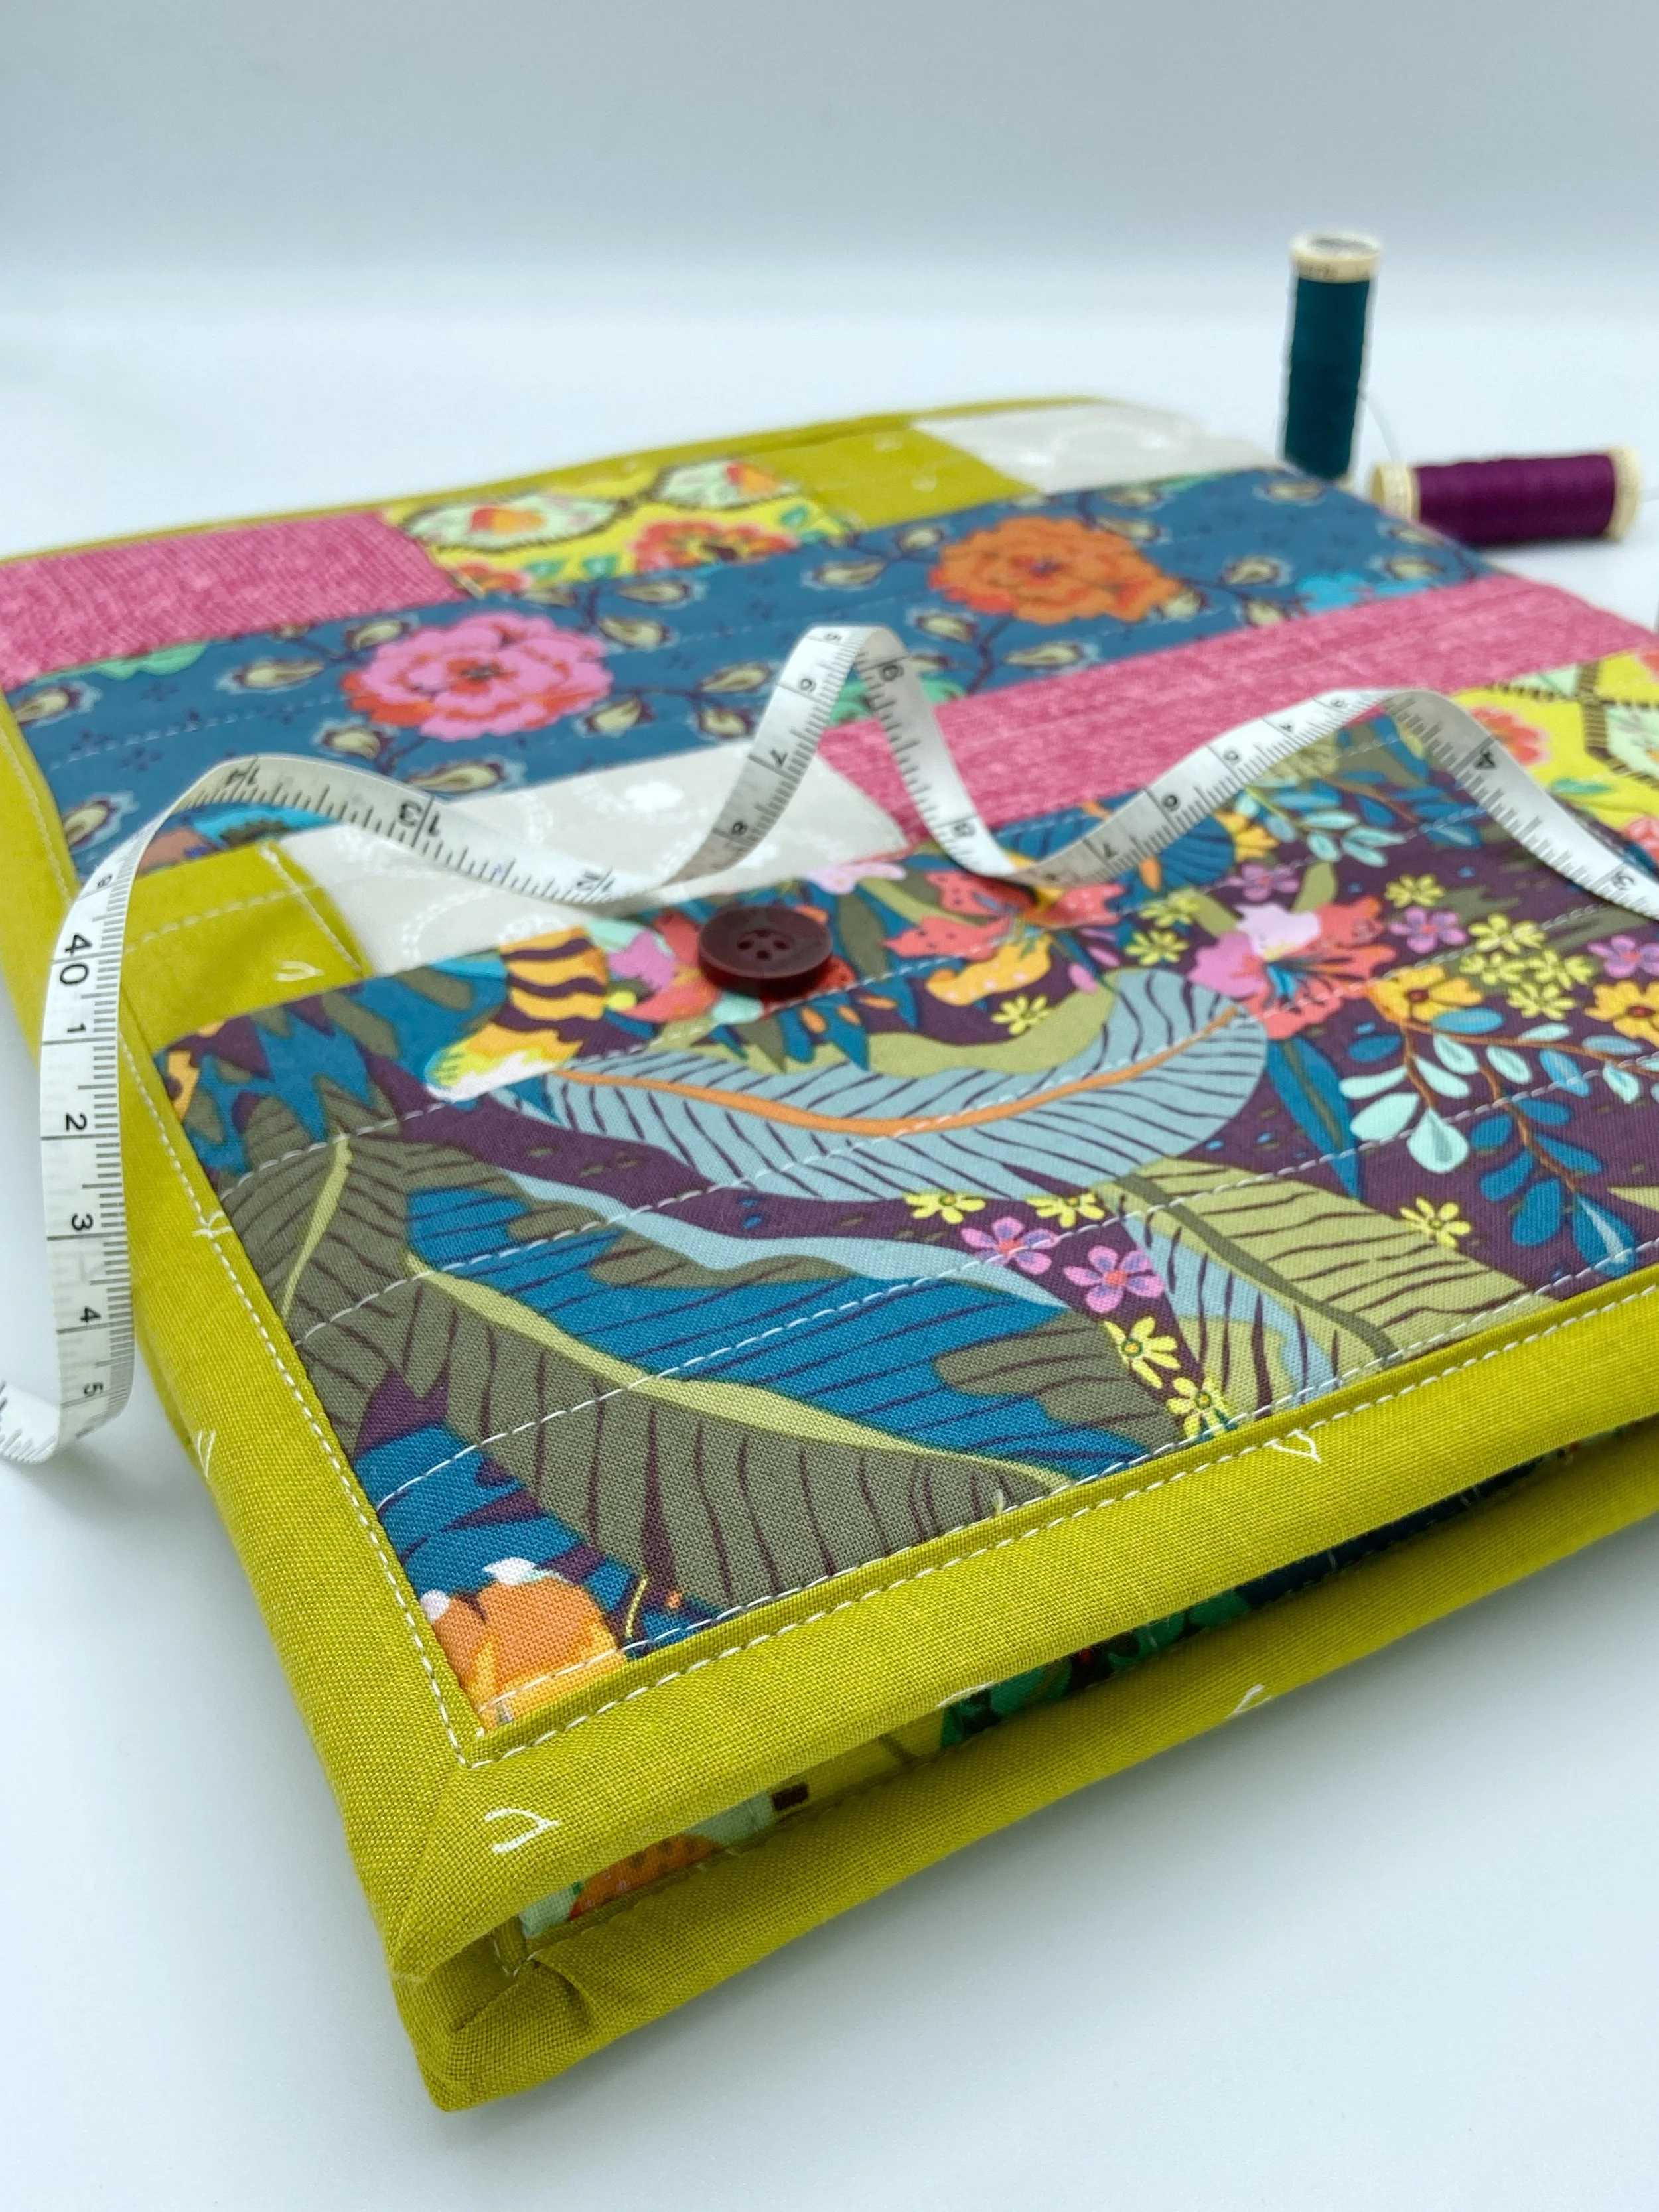
Fun and Easy-to-Sew Quilted Notebook Cover
Journals make great gifts for friends, teachers, Small business owners and college students.
They can be used for anything from making grocery lists to drawing, journaling or taking class notes. They help you stay organized, focused and creative. When the Journal cover is as pretty as this it can help you stay motivated.

Journals make great gifts for friends, teachers, Small business owners and college students. This free journal cover tutorial fits an A4 Spiral bound art diary which is 8 inches wide, and 11 inches long. By altering the measurements, but using the same method of construction, the cover can be customized to any size. You can use a variety of ways to personalize the cover like Embroidered details, Cricut easy heat press (like I did) or just by using unique fabric patches.

DIFFICULTY LEVEL: BEGINNER
Materials
· Fabric Scraps - Crumbs & Strips
· Fusible Fleece
· Quilting Cotton for Lining
· Biased Tape for edges
Tools
· Sewing Machine
· Rotary Cutter
· Cutting Mat
· Measuring Tape
· Thread


Instructions
1. Measure the outside of your journal. Add 1" to each measurement and cut your fusible fleece to this size. Cut 1 piece of lining fabric that is same size as fusible fleece.
2. Cut 2 pieces of lining fabric for your inner book sleeve flaps. These should be cut on fold, the same height as the lining fabric but the width should be 7-9" each. Fold these in half with the right side facing out. Cut same measurement of fusible fleece but not on fold. It will be sandwiched in the flaps.
3. (To sew the flaps) Sandwich the fusible fleece in lining and sew diagonal stitches to all layers. To make pencil holder on the flap, take a 10” piece and fold in half. Attach a biased binding on the top edge. Baste it to front flap piece on the sides. Attach biased binding on the side to hold all pieces together.
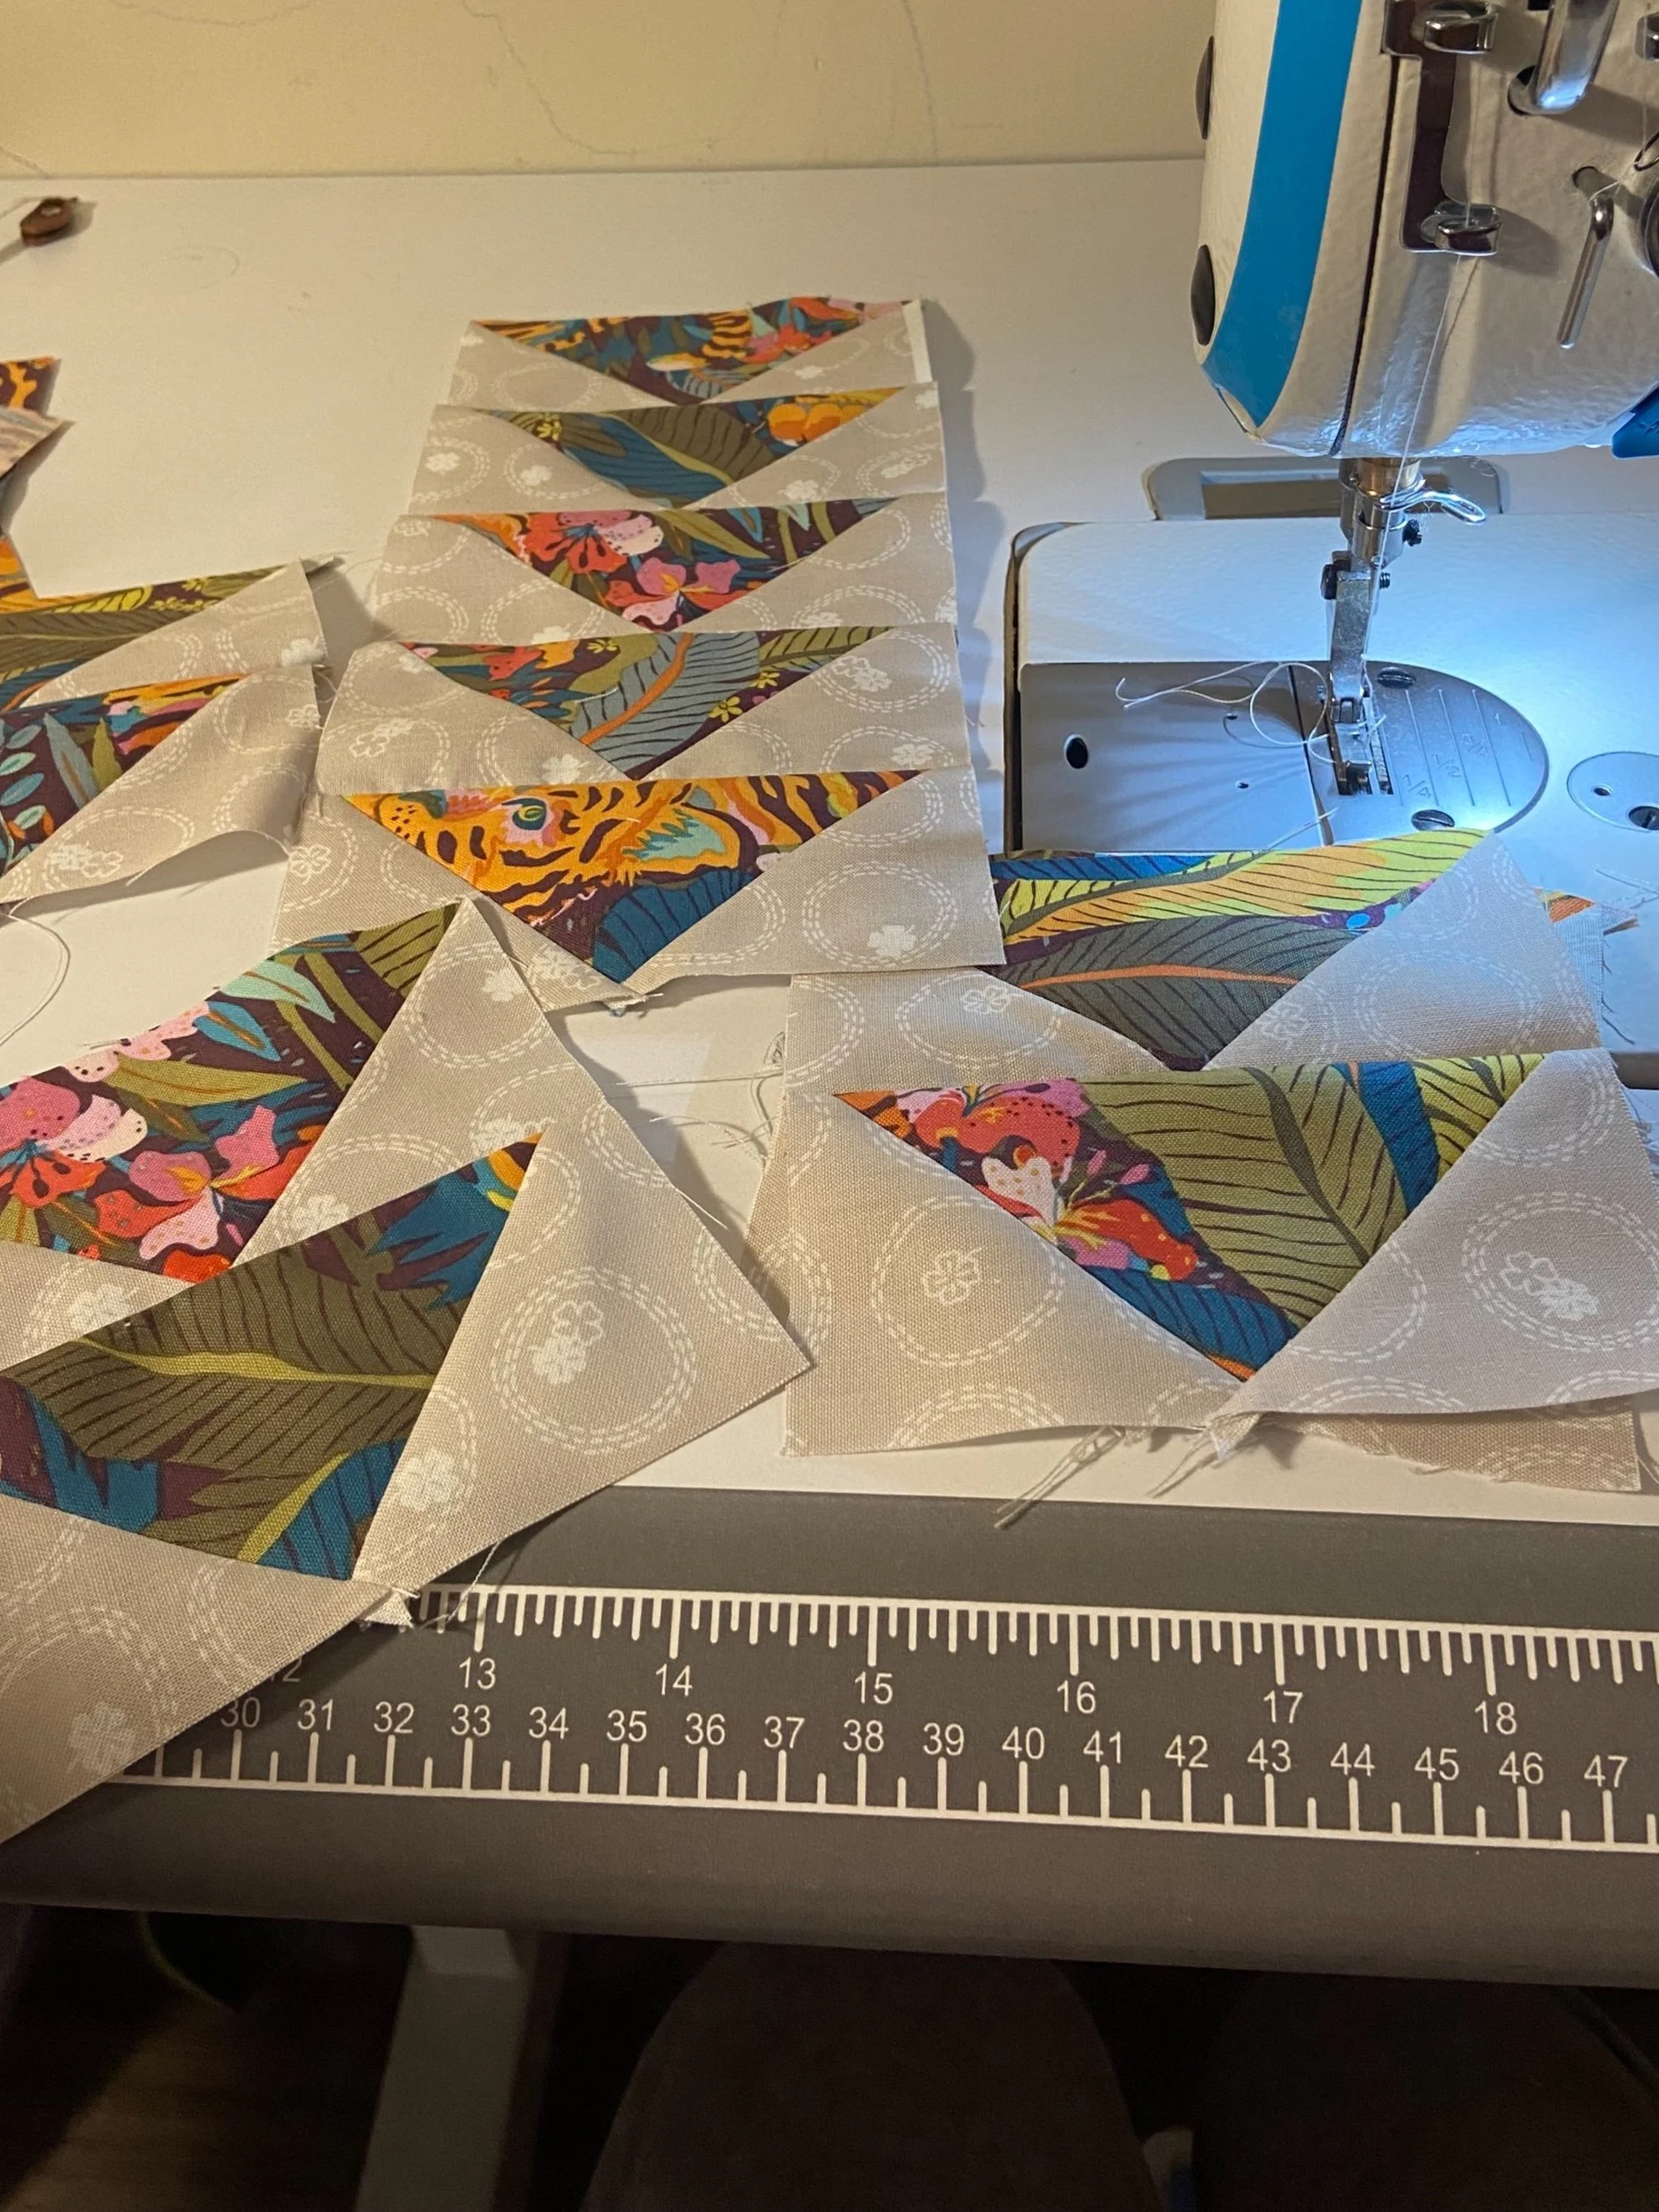
3. Take your outside fusible fleece and quilt it until it is covered using the stitch and flip quilt as you go method. You can also add flying geese blocks to it like I did.
4. When your quilt batting is completely covered trim down to the same size as your lining fabric.
5. Using straight stitches quilt your lining to the front on fusible fleece.
6. Place the folded flap pieces on the lining side of book cover and baste the corners.
7. Attach Biased tape to the edges and sandwich the raw edges inside the tape.
8. Press flat. Insert your book cover in the flaps! Finished!